This is a guide on how to enable/install and use Huawei Cloud, one of the new services Huawei offers to their users.
Artículo disponible en Español | Article disponible en Français
Huawei recently launched a new service (or strengthening its presence, depending on how you look at it), called Huawei Cloud. Huawei Cloud allows Huawei users to backup data such as their contacts and pictures to the “cloud”, basically a server located somewhere else. The company gives 5GB for free, which should be enough to backup “quite a few” pictures and has paying plans to increase the storable amount to up to 2TB of data.
Huawei Cloud can also be used to make a backup to transfer data from one phone to another one. This is especially useful if you’re going to change from an old device to a new one. Though, keep in mind, both will have to be from Huawei to be able to use Huawei Cloud.
The main advantage of Huawei Cloud over other services such as OneDrive or Google Drive is using the company’s first party apps, which works much better than third party apps such as Google Drive. Another advantage is reducing our dependence on Google Services, which are already omnipresent in our life. Sure, some people may not mind, but some of us are getting tired of this, and having an alternative is always nice.
For those of you who may have used Apple’s iCloud service, this is pretty much the same service. Some even say it is a rip-off of Apple’s service, though… it’s a cloud service. It’s hard to innovate here.
Some devices already have Huawei Cloud preinstalled, while other devices don’t. This guide can be used for both. Supposedly, Huawei Cloud will be deployed on all devices running EMUI5.1 or higher sooner or later, but is already available on the P10 and Mate 10 series, as well as the P20 series, though… our model doesn’t have it installed? (Update: after a restart, Huawei Cloud was there…)
We are using a P20 Pro for the demonstration. Keep in mind, you’ll have to create a Huawei ID beforehand to be able to use any Huawei service.
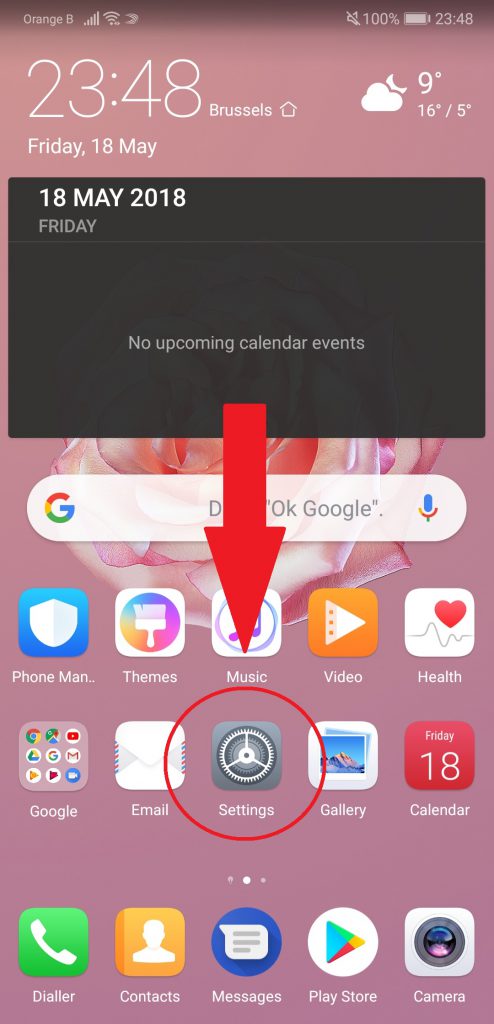
To create a Huawei ID, go to Settings, and tap the first option.

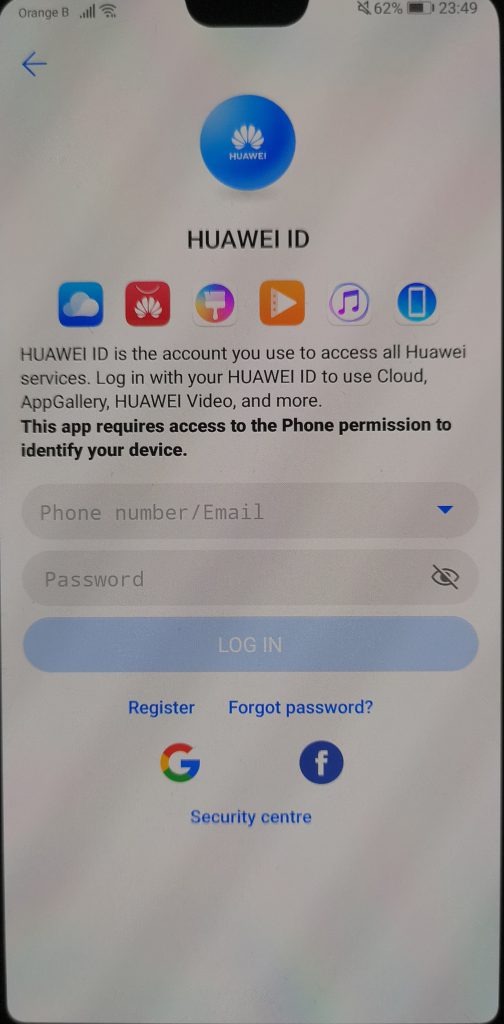
You’ll be presented with one of these two logins:
To login, there seems to be various options, either by creating an account with Huawei directly (recommended), or using your Google or Facebook account (and giving them more information about you?)
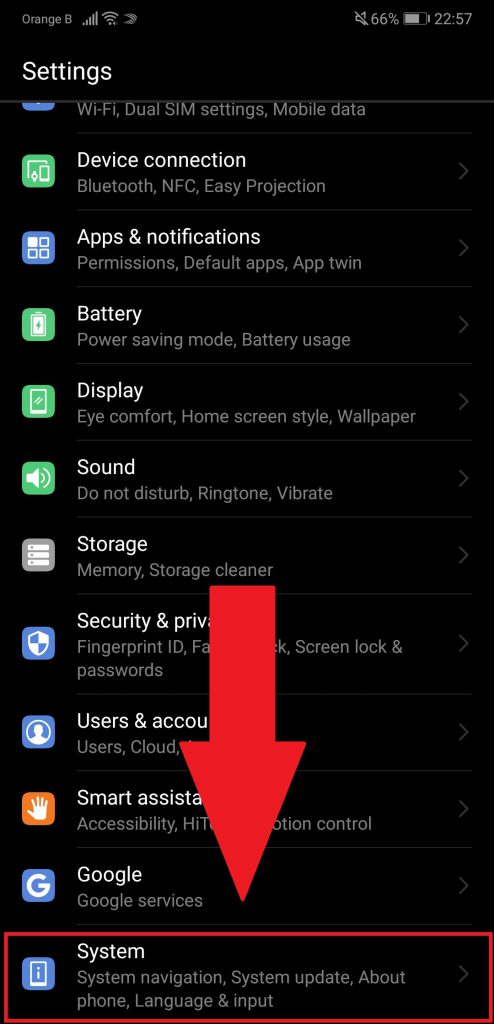
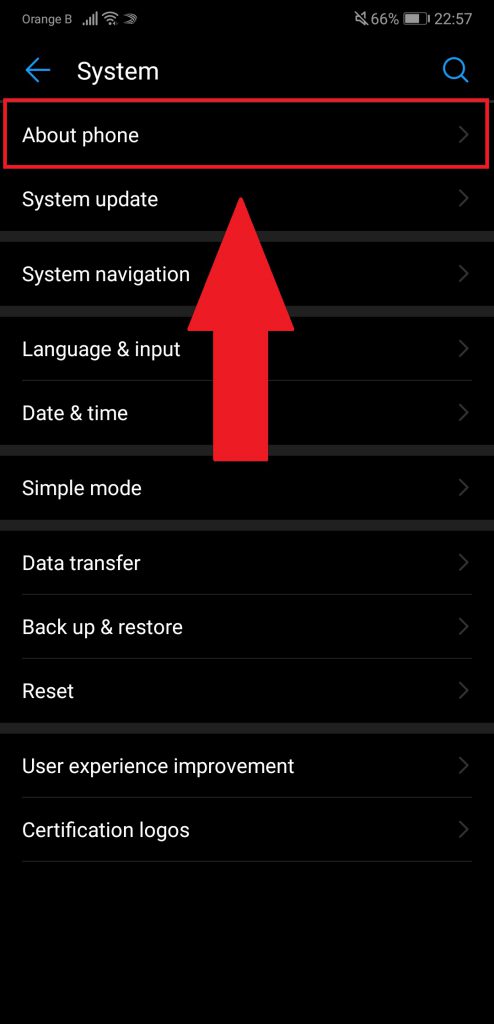
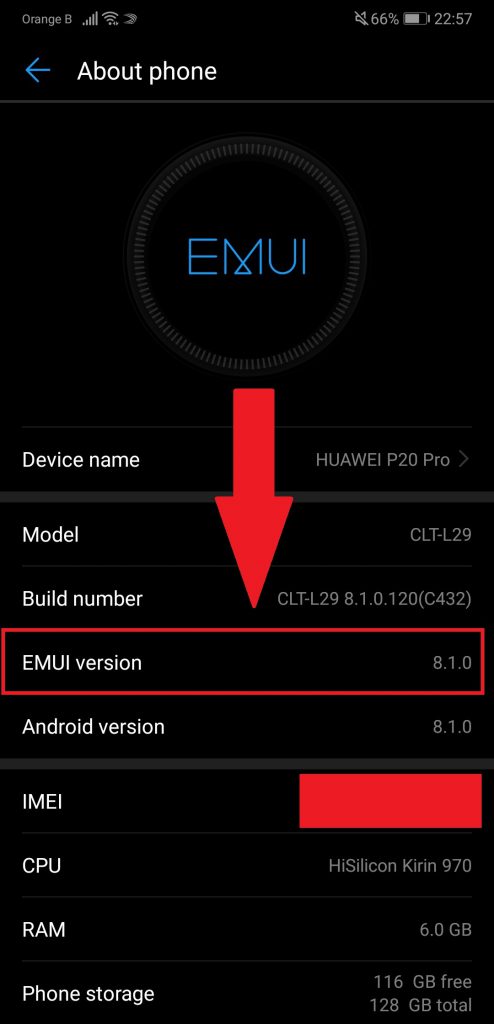
To see whether you are running EMUI5.1 or higher, go to Settings, scroll to the bottom, and tap on “System”. There, tap on the first option, “About phone”. Next to “EMUI version” it should say 5.1 or higher.

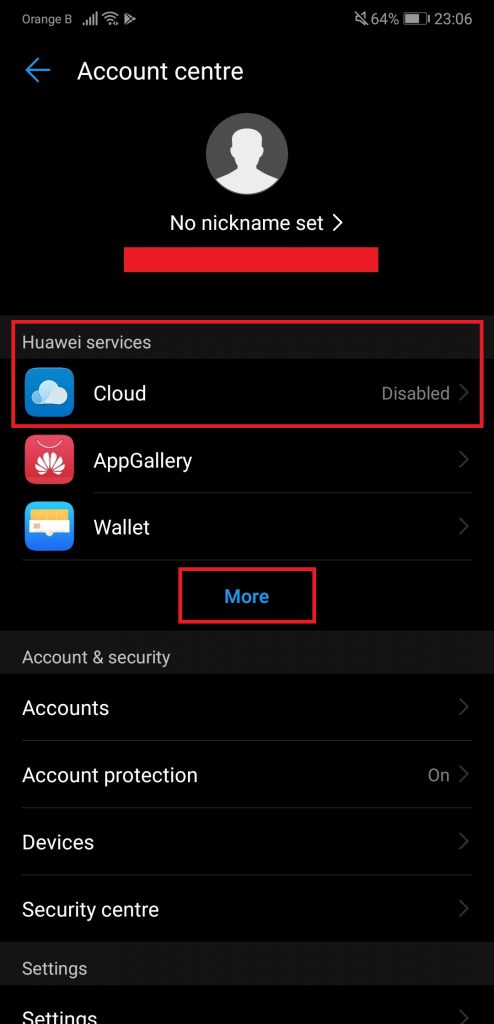
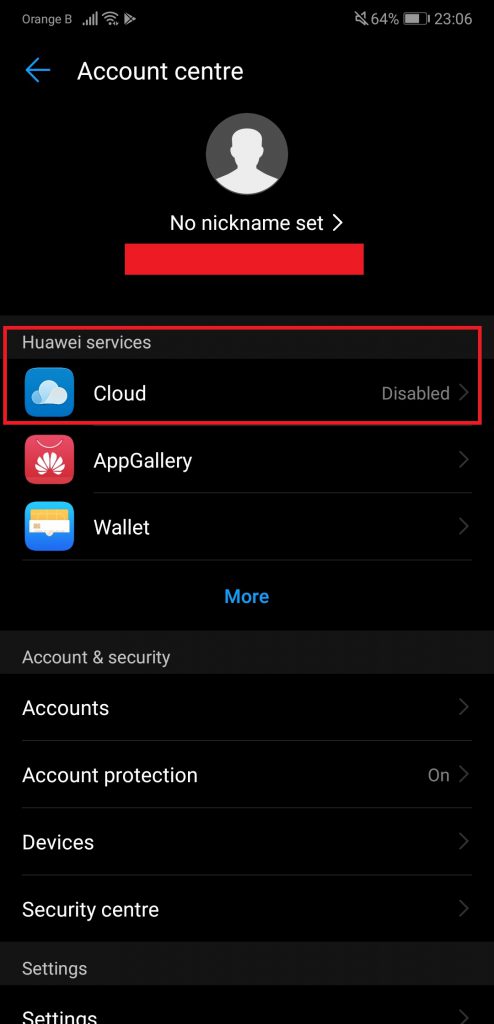
Next, check whether the Huawei Cloud application is installed on your device or not. To do this, tap on “Settings”, then tap on the first option, “[Phone number] HUAWEI ID, Cloud, AppGallery and others”. Remember, you need to create a Huawei ID beforehand.
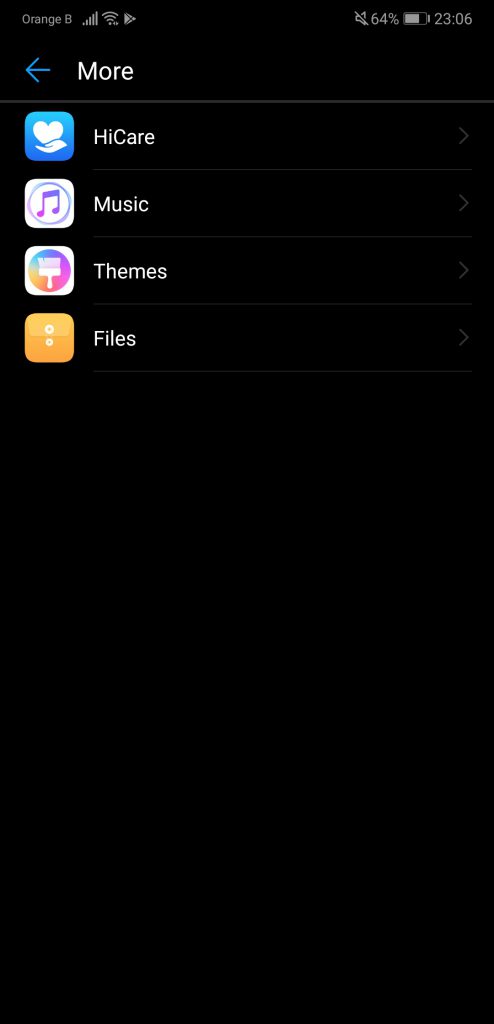
If you see in the “Huawei services” list an application called “Cloud”, this means it is already installed. You can tap on “More” to see if it isn’t under that menu too.


If it is already installed, ignore the following step and go a bit further. If you’re missing the application, here’s how to get it.
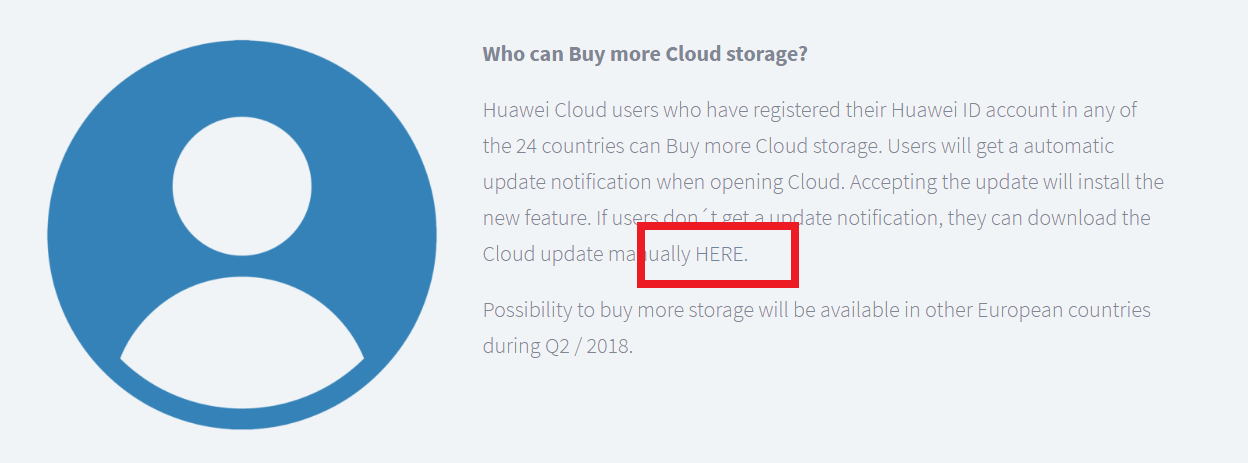
To get the Huawei Cloud installer, and if you fullfill the above requirements, go to the Huawei Cloud website and download the installer.
Once downloaded, transfer the installer to your phone. You can use Google Drive, OneDrive, or do it by connecting the phone to the PC. Put the installer on the phone memory, and once done, tap on it. You’ll have to grant permission to the application to install applications from unknown sources. Accept it, then install the application. Once installed, it’ll appear under Huawei Services.
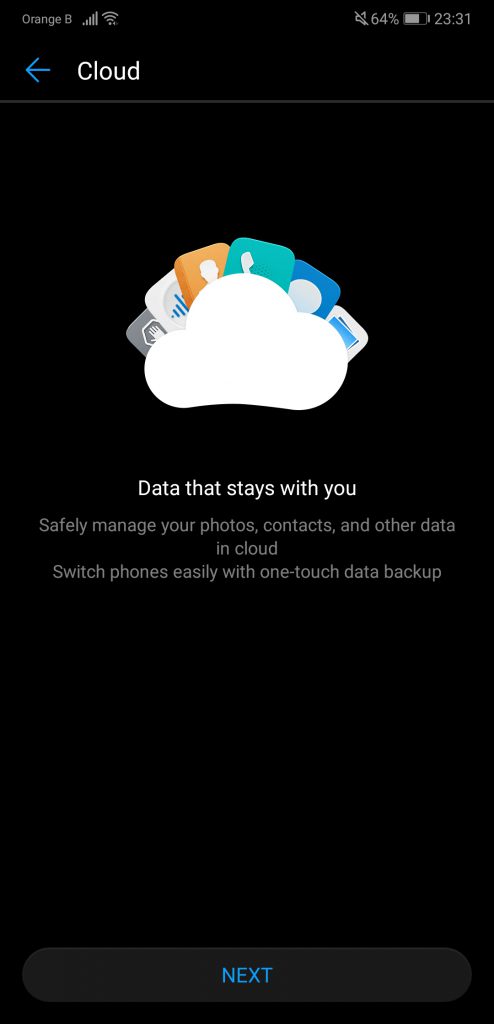
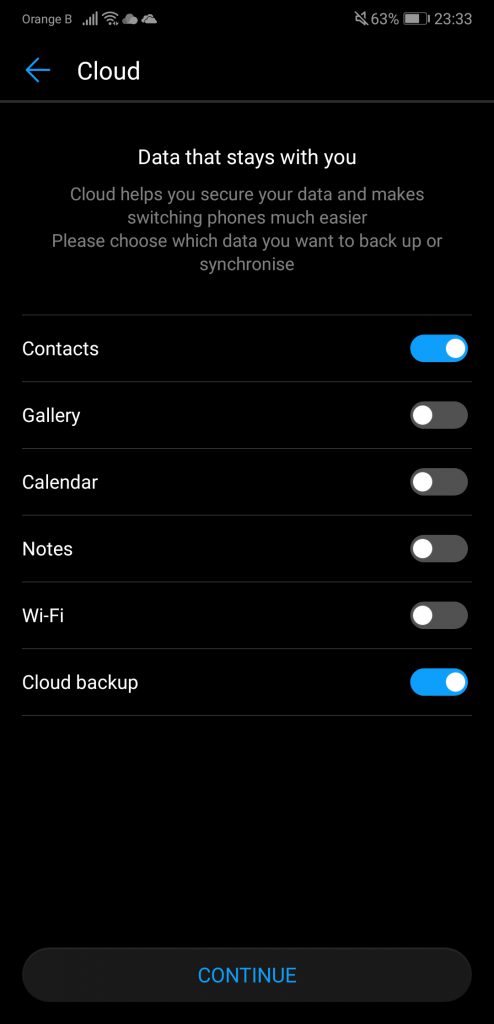
Tap on Cloud. You’ll get this welcome. Tap on “Next”, and read the contract. If you’re fine with the conditions, tap on “Agree”. You’ll be presented with a set of choices. Select those you are interested in. We recommend selecting all of them except Wi-Fi. Once you’ve selected which options you want to have backed-up, tap on “Continue”.
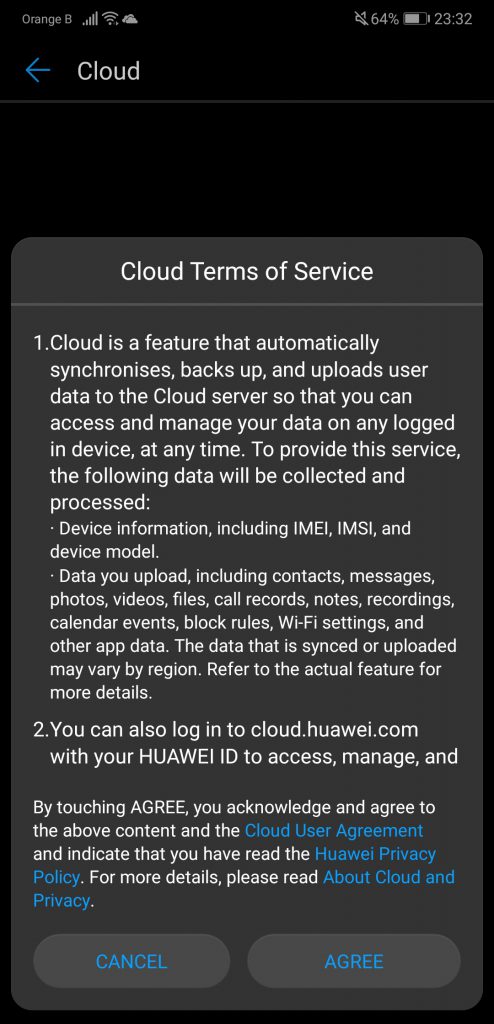

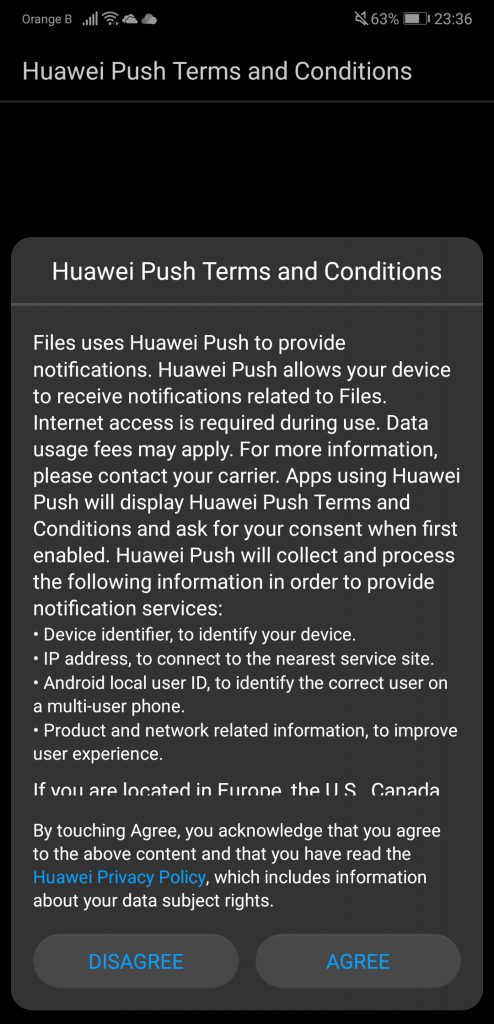
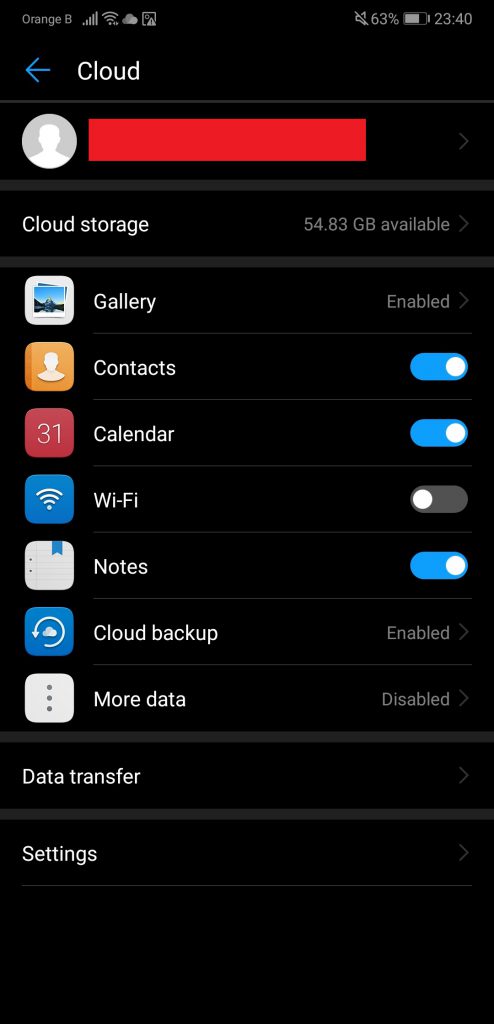
You’ll be presented another contract. Read through it, and if you are fine with the conditions, tap on “Agree”. This is the end of the set-up of Huawei Cloud. You’ll be presented this window, allowing for different things:
- Cloud storage gives the option of getting more storage
- Cloud gallery will automatically upload your pictures and videos if enabled
- Contacts, Calender and Notes will backup those options to the Cloud
- Cloud backup will backup contacts, messages, etc
- More data… no clue? Allows other applications to upload data to the Cloud?
- Data transfer allows to restore data from an older device, without needing Huawei Cloud.
- Settings… not much to do there.
Huawei Cloud automatically uploads your pictures and videos to the Cloud, but only with Wi-Fi. There doesn’t seem to be a setting to change this, though it should be ok for most of us, as most countries still have pretty tight 4G data plans.
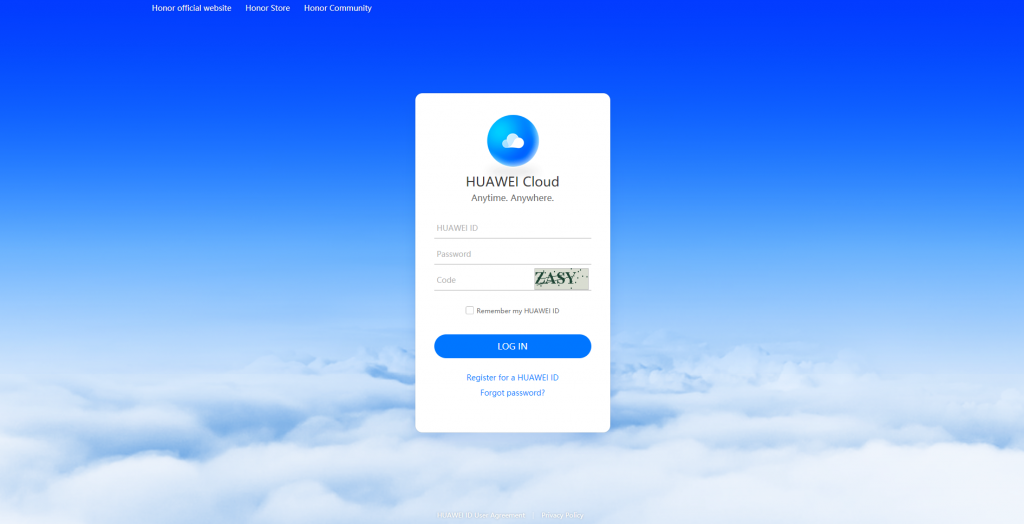
You can access the backed up information via the browser on a PC too, by going to the Huawei Cloud page. Enter your ID (e-mail or phone number), password and code. In theory, for the first login, a code will be displayed on your phone, so have it nearby too.
The browser Huawei Cloud is pretty well organized. Your pictures and screenshots can be found in the Gallery. Everything can be download on the PC too if need be.

While making this guide, we noticed a few issues Sunday 20th with Huawei Cloud on the browser. The pictures in the Gallery didn’t load, leading us to think the servers were down, either for a scheduled restart or just an issue. That is the only time we had issues though, so we hope this isn’t a recurring issue.
If 5GB aren’t enough, Huawei allows you to buy more storage. You can check out this guide we made on how to purchase extra storage.
More on this subject: